Hello everyone! The new
Baggage Claim Line from
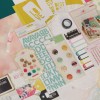
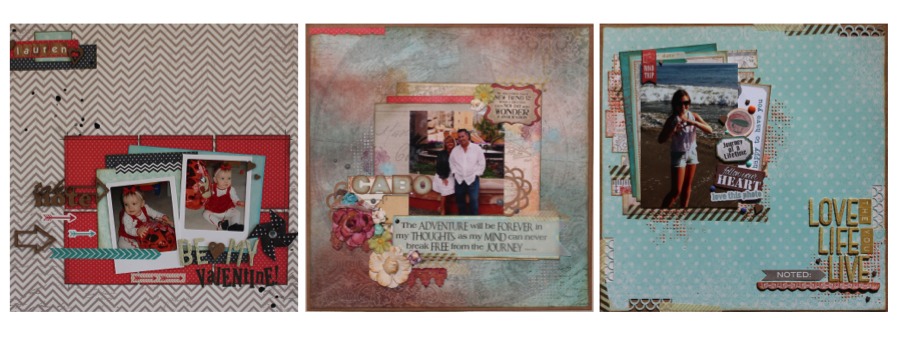
Quick Quotes has been a lot of fun to play with! But do you want to know what is even more fun to play with?! The INKS! The new colors are fabulous!! I got really inky on this layout!
I used 8 colors of PowderPuff Chalking Inks on this layout! That is a lot of ink! I inked the edges of the patterned papers, I used the ink with stencils and I also used the ink to color the molding paste!
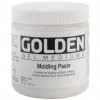
Do you see the green dots that are peeking out from behind the photo? I made those by coloring molding paste with the
Khaki PowderPuff Chalking Ink. And today, I thought I would show you how I did it!
*Note, before preparing the molding paste, I already had all the ink and splatters on my layout. I added the molding paste on top.
I started with a small amount of molding paste and selected my color.
I sprayed the ink pad with a little bit of water to make just a bit juicier than it already is!
I then took one of my palette knives to "scrape" some of the ink off the top.
I then added the ink to the plate with the molding paste.
And then I mixed it all up! The more color you add, the more intense the color.
I placed the stencil on my layout where I wanted to apply the molding paste and I then spread it across the stencil.
When I lifted the stencil, this is what it looked like. You can let it dry on it's own or you can use a heat tool to speed up the process.
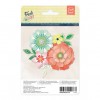
I finished off the layout by adding some of the Baggage Claim Chipboard Die-Cut Stickers! Love those!
I used Sketchabilities sketch #110 for my inspiration!
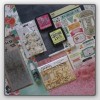
Quick Quotes Products Used:
Patterned Paper: Baggage Claim
300,
400,
800
Chipboard Die-Cut Stickers:
Baggage Claim
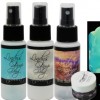
PowderPuff Chalking Ink:
Khaki,
Creamy Cocoa,
Rusty Nail, Feather Gray,
Brandywine,
Bloody Mary,
Coal Miner,
Red Hot
Other Supplies Used:
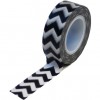
Washi Tape
Tags
Brads
Molding Paste: Golden
Spray Inks: Lindy's Stamp Gang
Stencil: Tim Holtz
Chipboard: UmWow Studios
Sketch: Sketchabilities