Friday, November 29, 2013

Quick Quotes - Black Friday Fun!

Hello Everyone! Barb here to share some Black Friday Fun! Are you in the group of crazy shoppers who stay up all night shopping?! Well, me and my girls love to fight the crowds! So, I created a Black Friday layout using the one and only photo we took last year. This one was taken around midnight, right before the doors of the store opened!


I combined three Quick Quotes lines for this layout: Back to Basics, Treasure Chest and Dusty Road.

The green striped paper and the journal spot are from the Dusty Road 6x6 paper pad. I also used several of the PowderPuff Chalking Inks to color the wood heart, the tags and the edges of the papers.

I love that the PowderPuff chalking Inks can be used so many ways: I stamped some circles on the background using the ink, distressed the edges of the journal spot and papers using the ink and colored the chipboard arrows with the ink!

If you aren't out fighting the crowds for the good deals, then hopefully you are doing something creative! Enjoy your day!

Quick Quote Supplies Used:
Patterned Paper: Back to Basics 100
Patterned Paper: Treasure Chest 300
Patterned Paper: Dusty Road 400
Dusty Road 6x6 Paper Pad
PowderPuff Chalking Inks: Biscotti, Mocha Mama, Java, Mango Mai Tai, Green with Envy

Other Supplies Used: 
Shimmer Mist: Creative Imaginations
Inka Gold Metallic Rub: Creative Imaginations
Letter Stickers: American Crafts, Making Memories
Colored Twine: American Crafts
Chipboard: UmWow Studios
Brad: Cosmo Cricket
Flags, Flair: Basic Grey
Clothes Pin: Little Yellow Bicycle
Other: Buttons, Tag

Thursday, November 28, 2013

Happy Thanksgiving!


Wishing you and your families a blessed Thanksgiving and Holiday season. 

Monday, November 18, 2013

Quick Quotes - Turkey Placeholders

Hello! It's Barb and I am back to host the blog today! Where has November gone?! I can't believe that it is almost Thanksgiving! For my post today, I thought I would share a cute little Turkey Placeholder you could create to make your Thanksgiving table a little more festive!


How cute are these little guys?! They each kind of take on their own little personality! The best part of this project is that you can make 8 of these turkeys with only 2 pieces of patterned paper and a piece of cardstock (I used kraft.)

I fussy cut the raindrop shapes from this paper to create the feathers on the front of the turkey and the beaks. I also cut 1 inch strips from this paper that I accordion folded to create the body of the turkey. I used the backside of the paper for that. 


I love the color blocks on this one! I cut apart a few of the blocks (3 per turkey) and turned them into the turkey's tail feathers! The variety of colors worked perfectly for giving each of my turkeys their own personal look! 

These cute turkeys also look adorable as napkin rings and as decorations on gifts.


I added a few as a topper on a large candy bar that I wrapped in patterned paper They made nice little gifts for my daughter to give to her teachers. 

If you would like to see the step by step instructions for these cute little guys, check out my video!

Happy Thanksgiving! 


QuickQuotes Supplies Used: 
Patterned Paper: Happiness 100, 400

Other Supplies Used:
Kraft Cardstock
Moveable Eyes
White Cardstock
Black Pen
Adhesives (Glue, Hot Glue Gun)
Wood blocks

Wednesday, November 13, 2013

My Art Journaling Phobia


I'm not sure that is the official term (Art Journaling Phobia) but that is what I am calling it!!  :)  Let me start from the beginning.... when we first decided to open the Frosted Designs Store, I knew that I wanted to provide all of you with a Mixed Media Paper Kit. I didn't want a kit that had random mixed media items added to it that I wouldn't have a clue how to use. I wanted a kit that combined my love of paper crafting with the new Mixed Media trends. I admire all of the mixed media items that everyone is using on their cards and layouts and art journals but I didn't have a clue how to add them to my projects. So, the goal of the Mixed Media Paper kits is to not only inspire, but to educate as well!


Now, that leads me to the project I am sharing with you today. I have been following along with Sandee when she does her Sunday with Sandee Series. (If you have missed these, you are missing out! Click HERE to get caught up!) I casually mentioned to her how terrified I was of Art Journaling. I mean, I LOVE to look at art journaling but there is NO WAY I could ever do that! Sandee has sweetly nudged me to give it a try and after her tutorial on wax paper last Sunday, I knew I was going to have to try it! (After all, she does make it look so easy!) So, the journey for me begins!

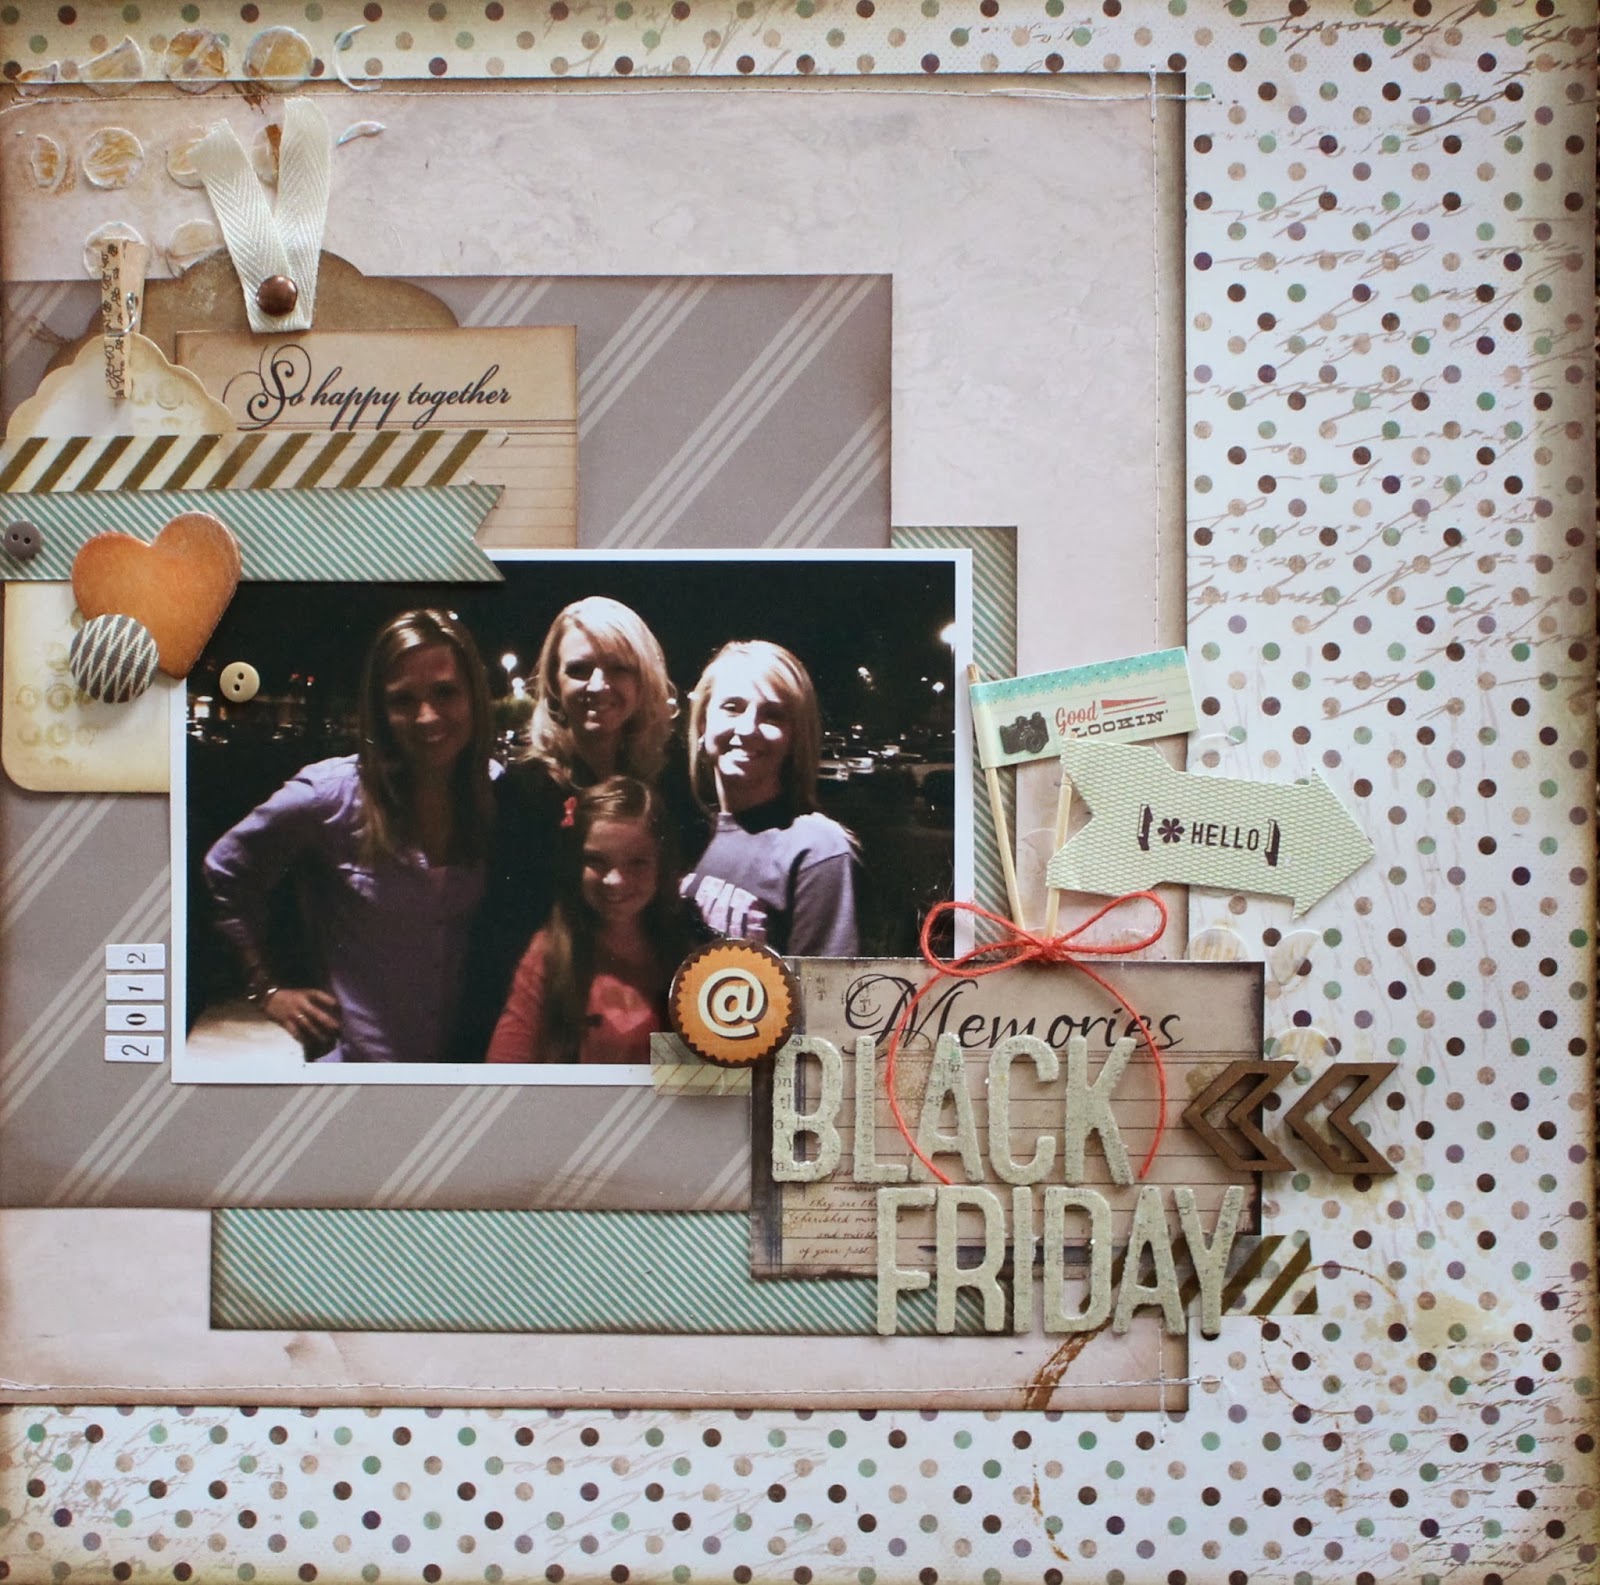
When I told Sandee that I actually opened the journal for the first time (yes, I was that scared to start!) she asked me if it bit me. (Gotta love a girl with a sense of humor!) And good news, I had my journal open and was unharmed! I thought to myself... I can do this! And I did!!! Slowly I started to build my page and here is what I created....

I have to say.... not only was the process not miserable, but I actually had a lot of fun with it once I got started!! I might even to so far as to say, I enjoyed it and I will probably do another page (or two!)  Like all new things, I learned a lot. There are things I am really happy with and then there are things I am not so thrilled with. But the good news is, I am looking at this as a learning process, so reflecting on what worked and what didn't is part of that process!

One of the things I did that I really liked was the way I used Gesso to tone down the inks toward the center of the flower. I literally stuck my finger in the Gesso and lightly smeared it around the center of the flower and part way up between the petals. I also like the way my doodling on the flower turned out.

Another thing I was really pleased with was the overall background. I love the way some of the ink smeared together and in other places, the spots are more distinct. I also combined a Spray ink that had some shimmer to it with the Dylusions Spray Inks that have bold colors but no shimmer. To create the dots, I brushed some bubble wrap with gesso and stamped them on the background.

One of the things I wasn't happy about was the butterfly. I drew a butterfly on the page but didn't like it so I went through the October Mixed Media Paper Kit to find one of the Maya Road Die Cut Butterflies. I liked this one better so I traced over the other butterfly (yep... totally cheated!) Since I needed to cover up the old butterfly, I decided to paint the butterfly with the DecoArts Paint that was in the kit as well. Once it was dry I added some black outlines and a few pink dots to the wings. I don't love it but for now, it is staying put.

When Debbie shared her project for the October Mixed Media Kit, she pointed out how she used paint to highlight some of the words on the paper. I loved this idea and used it for my flower. (By the way, the paper is from BoBunny and was in the same kit.)

After I got the background done and added the flower to the top, I sent Sandee a photo and said "now what?!" She sweetly told me to find a quote that spoke to me to add to my page. And since I was terrified to start this art journal journey, this quote really summed it up for me! I actually conquered two fears today... I also used my own handwriting to do the journaling. I usually don't like to do that but I decided to give it a go! And the good news is, (in my opinion) it's not horrible!  :)

Now that I have shared my page with you, we would love it if you would share your pages with us! We have had a few of you share them on our FB page and we are loving it! Keep them coming! Click HERE to find our FB page. 

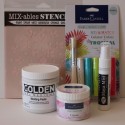
I used items from the October Mixed Media Paper Kit. I also used the Gesso from the Mixed Media Starter kit. (If you are just getting started with Mixed Media, this is the kit for you!)


We still have a few of the October Mixed Media Paper kits in the store. And, in TWO days we will be releasing the November Mixed Media Paper Kit. And a reminder.... if you purchase a 3 month or 6 month subscription to the Mixed Media Paper Kit, we will send you a free Ranger Dylusions Creative Journal (which has a $24.99 retail price). You can start your subscription with the October Mixed Media Paper Kit or the November Mixed Media Paper Kit. Just keep in mind that this offer expires on Nov. 30th.


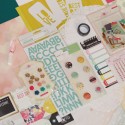
Would you like another sneak peek of the November Mixed Media Paper Kit?! Well here you go....


Friday, November 8, 2013

Quick Quotes - You are my Happily Ever After

Happy Friday Everyone! I don't know about you but when November rolls around each year, I start to think about the blessings I have and who/what I am truly thankful for. For me, it is my husband! He is such an amazing man. I know I don't always take the time to let him know how much he means to me, so I decided to do a layout dedicated to him.

 For this layout, I used two of the new Quick Quotes lines: Treasure Chest and Back to Basics. These papers go together so well that it is easy to combine these collections.

I had a little fun with the title and carried it across the page. The "You Are My" is on the banners with the rest of it ("Happily Ever After") made with larger chipboard letter stickers.


I added some inks and molding paste to the background and then layered the patterned papers. The texture of this paper is perfect for distressing the edges! I sometimes struggle with creating masculine layouts but these lines make it so easy!

Quick Quotes Supplies Used: 
Patterned Papers: Back to Basics & Treasure Chest 100, 300
PowderPuff Chalking Ink: Biscotti, Mocha Mama, Java

Other Supplies Used:
Chipboard Stickers: Basic Grey
Letter Stickers: American Crafts, My Mind's Eye
Stamp: Basic Grey
Machine Sewing
Shimmering Mist: Creative Imaginations
Brads
Ribbon & Twine
Paper Clip
Molding Paste

Thursday, November 7, 2013

Frosted Designs - Family Blessings Scrapbooking Kit

November is a month to celebrate our blessings and it is also what our newest Scrapbooking kit is all about! The Family Blessings Scrapbooking Kit is packed full of goodies from Crate Paper, Pink Paislee, Glitz & more!


Like I said last month, when I get a kit, I want one that is diverse enough that I can do layouts for my daughter, son, and family in general. When I sat down with the kit this month, that was easy to do! Here is what I created.....

I started with a girly layout. Sometimes my 11 year old daughter surprises me with her wisdom and her ability to self-reflect. This photograph captures this perfectly! The Pink Paislee Color Wash paper I used for the background was already so pretty, I didn't want to make any changes to it!

One of my favorite items in the Family Blessings Kit are the Maggie Holmes Photo overlays. When placed on a photo, they give it a natural filter. But, as you can see, I also used one as a layer behind my photo! I layered it along with some patterned papers, tags, and pieces from the Flea Market Ephemera Package. One of my favorite things about subscribing to a kit is that you have "left-overs" from the previous kits! The yellow twine, gems and the "you're beautiful" die-cut on the tag is all from the Sea Breeze (October) Kit!


Also included in this kit are these adorable borders that are layered and stitched! They have done the hard part! All I had to do was glue it down! 


And of course, I had to do a masculine layout too! For those of you who know me, you know how precious my brother is. Recently while he was visiting me, we had the opportunity to go into Hollywood. He had a blast! He had never been there and was soooooo excited to hit all of the popular tourist places like Universal Studios and Hollywood Walk of Fame! As soon as I saw this Pink Paislee Paper with the stars, I knew exactly what I was going create with it!

I love the gold trim on the "This Memory Belongs To" bookplate that I added the word Mister to. I used the Thickers from the kit to spell out Hollywood, nice & big on the layout!


The gold camera is from the Maggie Holmes Ephemera Package in the kit and I love the flair in this kit. It had the perfect colors for this layout and the first layout! 

And why stop there?! I have one more layout for you! 
A few weeks ago, I took my daughter and her friends to a corn maze. At one point, we decided to split up to find the clues we needed to get out of the maze. As me and my friend were looking for clues, the girls sat down in the corn and started taking "lost" selfless! So, when I saw the "Really?" tag in my kit, I knew it was perfect for this photo!

 I used some old corrugated cardboard and white paint to add a little texture behind the patterned paper and embellishments. Behind the flair is some of the camera washi tape that comes in the kit. I like the way I was able to add a touch of black to this part of the layout to balance out the title in the lower corner.

 I watered down some yellow paint to paint the Pink Paislee Color Wash Tag. I then added a few pink ink splatters and backed it with a green piece of paper from the kit.

These are the same letters I used in my Hollywood layout. I just painted them black and then brushed a little molding paste on them!


I hope you have enjoyed all of the Family Blessings Inspiration on the blog this week! If you would like to order a kit for yourself or as a gift, you can find them HERE! 

Are you having a crop with friends? We also offer discounted kits when they are purchased together and shipped together. To find out pricing, send an email to barb@frosted-designs.com! 


Blog Template by Delicious Design Studio