Tuesday, October 29, 2013

Quick Quotes - Life is Better with a Friend!

Hello everyone! Barb here to host the blog today! I am always excited when new paper arrives from Quick Quotes, but the Happiness Line got me really excited! I love the mix of bold colors and patterns.... perfect for this layout of my daughter with her friend!

I love this photo of the girls running through the sprinklers! I wanted the photo to pop off the page and this background paper was the perfect color! I used a stencil to add some molding paste behind the photo and some of the embellishments. I sprayed the background with a gold shimmer mist and added a few stars for sparkle!


 The title was created by cutting apart the blocks of color from one of the sheets of patterned paper from the Happiness line. The blocks of color were perfect for mounting letters/words on to create the title.

I love the combination of colors. They look great layered behind the photo. I added a doily and some ribbon to finish it off! To get the distressed edges on the patterned papers, I first inked the edges with PowderPuff Chalking Ink in Java, and then I took the blade on a pair of open scissors to fray the edges.

Quick Quotes Supplies Used:
Patterned Paper: Happiness
PowderPuff Chalking Ink: Biscotti, Java

Other Supplies Used: 
Molding Paste: Golden
Shimmer Mist: Creative Imaginations
Letter Stickers: American Crafts, Echo Park, Webster's Pages
Stick Pins: My Mind's Eye
White Twine: American Crafts
Chipboard: UmWow Studios
Ribbon: Maya Road
Doily


Friday, October 18, 2013

Quick Quotes - True Friends & Fall Flowers!

Hello! Recently I received a new box of goodies from Quick Quotes and I fell in love!! One of my favorites is the Quick Quotes Back to Basics line! I liked it so much, I created two projects to share with you! And a video!

We moved from Texas a year ago. My daughter was missing her best friend a lot, so we sent her to Texas for 11 days this past summer. They took this photo of them making a heart with their arms and I couldn't wait to get it on a layout. When the Back to Basics line arrived at my door, I knew it would be perfect for this photo!


 The watercolor looking brush strokes behind the photo were made by soaking a paintbrush in water and then inking it up with Java PowderPuff Chalking ink. I love the look! I also used the same technique with the Biscotti PowderPuff Chalking Ink.

I love the colors of this line along with the mixture of patterned papers. They look great layered!

I was on such a creative roll, I decided to do another project!

I found this lantern when I was shopping last week. I liked it, but the sad, little bow they had on top had to go! So, this is my bow....


I used the Back to Basics Patterned Paper along with some fabric to make the flower in the center of the bow.


And here is what the completed decorated lantern looks like... much better! :) If you would like to see how I made the flower, check out the video tutorial I made!


Quick Quotes Supplies Used:
Patterned Paper: Back to Basics
PowderPuff Chalking Ink: Biscotti, Mocha Mama, Java, Lemonade, Mango Mai Tai

Other Supplies Used: 
Inka Gold Metallic Rub: Creative Imaginations
Shimmering Mist: Creative Imaginations
Flowers: Prima
Punch: Martha Stewart
Letter Stickers: American Crafts, Websters Pages
Chipboard: Maya Road
Tags
Fabric, Burlap
Silk Flower
Doily
Ribbon
Gems

Monday, October 14, 2013

Craftwork Cards - Wine & Canvas

Happy Monday Morning everyone! I have another layout to share with you today! This year, for my birthday, my daughter decided to treat me to a creative night out! Talk about the perfect gift! We went to a place called Wine & Canvas where we could drink a glass of wine while learning how to paint on canvas!! :) It may not be perfect, but we had a lot of fun and shared some great memories! It was the perfect gift!

 I used Echo Park's Beautiful Life Collection Kit for the layout. I added the white paint marks by dripping my Dylusions Spray Ink in White Linen on the cardstock.


This butterfly is actually part of the Frosted Designs Mixed Media Paper Kit that will be released tomorrow! Shhhhh.... don't tell anyone!!! I used CANDi for the center of the butterfly.

I am loving the kits at Frosted Designs! These Thickers letters are from the October kit. After I finished 4 layouts and 1 card, I STILL had plenty of left overs! It worked great for this title!

And of course... all of these supplies can be found in the Frosted Designs Store! 

Thanks for stopping by today!
Barb :)


Follow on Bloglovin

Sunday, October 13, 2013

Frosted Designs October Scrapbooking Kit

Good Sunday Morning Everyone! I had a day completely to myself yesterday, (I know... so exciting!!) so guess what I did... I went to my studio and pulled out the 
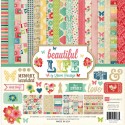
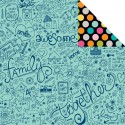
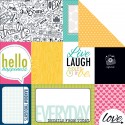
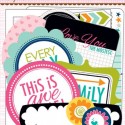
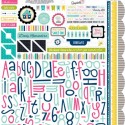
Frosted Designs October Scrapbooking Kit! Yay!!!


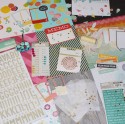
I thought I would share the projects I created with the kit but first I wanted to talk to you about our thought process when putting together this kit. When I purchase kits, there are certain things I want in a kit...

1. I want a kit that will work for everyone in my family. That means it has to be diverse enough in it's contents that I can make a layout for my son, daughter & family in general.

2. I want a kit that mixes different manufacturers so that I don't have to. Sometimes the manufacturer kits that have everything included are nice, but a little too matchy, matchy for me. I want a kit that will allow me to sit at my desk, pull out all the contents and start creating. No searching for matching papers or embellishments... it is all in the kit already!

3. I want a kit that is a good value... one that I can create several projects with.

I believe that the Frosted Designs Scrapbooking Kits have all of these things!

ALL of these projects were made with the Frosted Designs October Scrapbooking Kit. The only things I added were items I already had in my studio like inks, molding paste & mists.

This layout was made mostly with the Glitz papers in the kit. I used the Sketchabilities Sketch found here. (I flipped it!)


Since it was taken at a Diamondbacks Baseball Game, I wanted to include the tickets from the game in the layout.


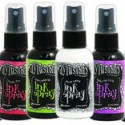
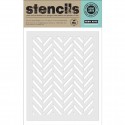
I used the Hero Arts Herringbone Stencil (you can find it in our store) for a fun design in my background. Once it was dry, I sprayed on some Dylusions Ink Spray in Calypso Teal and White Linen.

I love these little word stickers from My Mind's Eye that are in the kit... so fun! The triangles are from the package of Studio Calico Die Cuts.

I even did a layout of my husband and I at the Phoenix Open! This was a mix of the My Mind's Eye Papers and Glitz papers. I used molding paste to add texture behind the photo along with some black paint and Dylusions Spray ink in White Linen (LOVE that stuff!!) I used the Stuck?! sketch you can find here.  (I flipped this one, too!)


 The Thicker Letter Stickers are in the kit but they were a lighter, neutral color. I wanted black letters for this layout so I put some ink on them and there you go... that simple!

I adore these sweet Studio Calico polaroid frames that are in the kit! I added a Studio Calico die-cut and My Mind's Eye stickers.

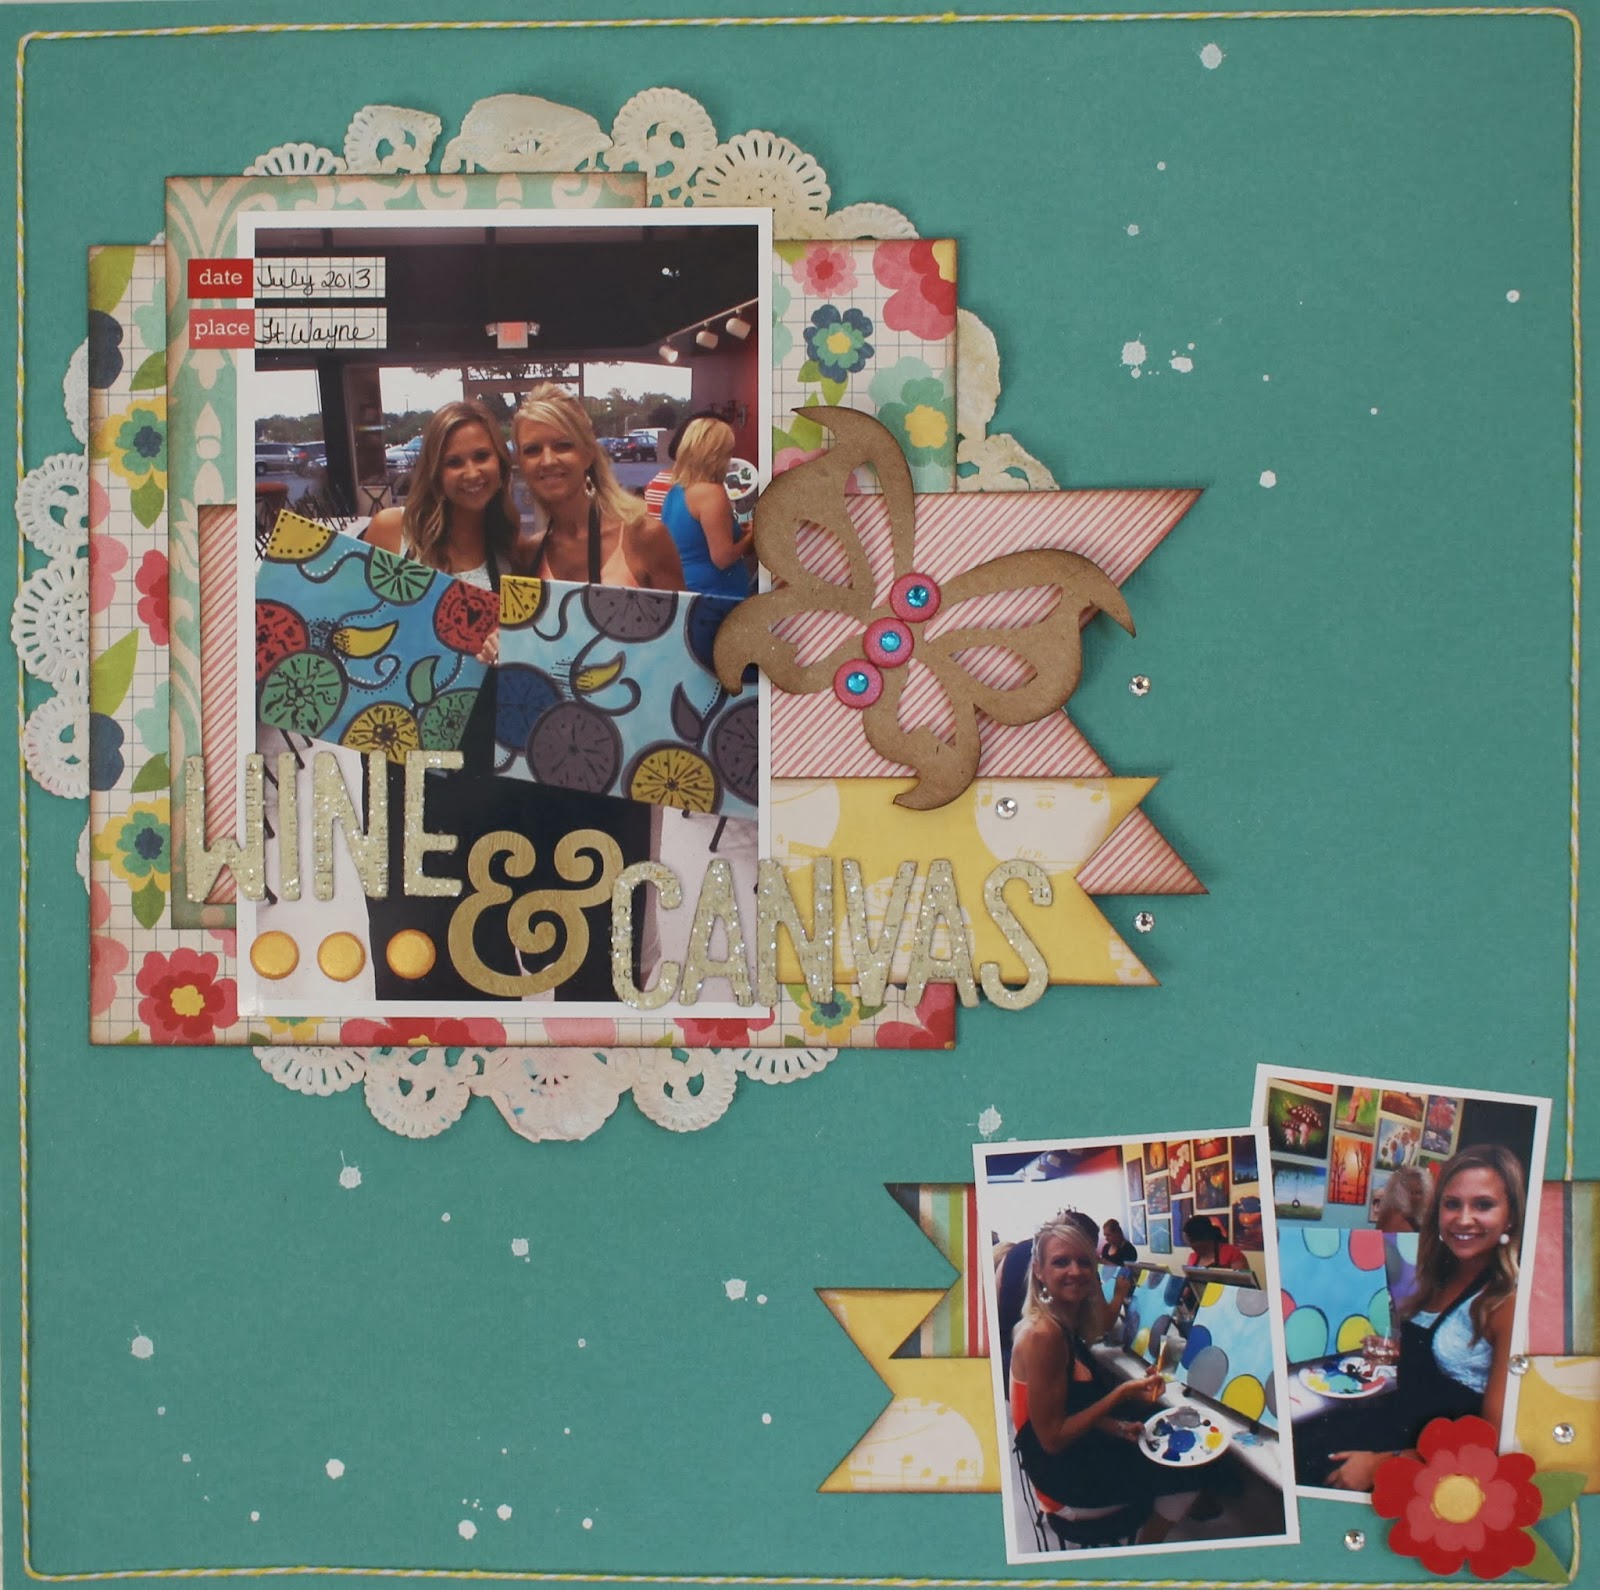
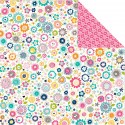
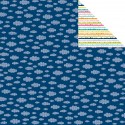
Now for the girly, girl layout! I love the mix of My Mind's Eye and Echo Park Papers! And... I even have Glitz paper here!


Here is a close up of the polaroid frame and word phrases that are in the Studio Calico die-cuts. Boy does that package have a lot of die-cuts!! Love it!! I also used the KaiserCraft flowers and rhinestones. (The pink and white ribbon was a scrap of ribbon I had laying on my desk.)

I really like these glassine bags that are in the kit. They allow me to include my journaling without it being a focal point. I used a punch to get the design at the top and then added some of the Webster's baker's twine along with the My Mind's Eye stick pins.


I love this paper from Studio Calico! It is so fun and playful and perfect for scrapbooking pictures of my daughter and her best friend playing around! I also used up some scraps of Glitz paper for the banners under the photos.


 I used another glassine bag to hide my journaling and added some star confetti, rhinestones and twine!

See... I really did journal!! :)


And... after all those layouts were complete, I had enough paper to make this card. I actually have enough paper and embellishments to make another layout or a few more cards! I used the sketch from cardabilities that you can find here.


The "Hey You..." sentiment was cut from one of the My Mind's Eye journaling cards that are in the kit. Aren't I clever?!  :)

So.... I hope that my creative day gives you some ideas on projects you can make with this kit! This kit is available in the Frosted Designs Store! You can find it HERE!

*****BONUS TIME! *****
ANY KIT PURCHASED BETWEEN NOW AND OCT. 20TH WILL RECEIVE A $10 GIFT CERTIFICATE FOR THE FROSTED DESIGNS US STORE. 
Give us a try!!! 


Thursday, October 10, 2013

Crazy Fun....

Frosted Designs is still celebrating their Grand Opening with a Blog Hop! You have until Sunday afternoon to hop to all the blogs, win prizes and find discount codes to my store! You can use the codes to get discounts on everything in the store including the brand new collections that are just being released from Crate Paper, BoBunny, Studio Calico, Echo Park and more! The discount is also works for the scrapbooking kit, clearance items, mixed media items, UmWow Studios Chipboard ... everything!! But you have to join in on the Blog Hop to find the codes!! 


So today,  I thought I would share a fun layout I created using the Snapshots Collection from Bella Blvd!

I am still working on getting the photos from my daughter's birthday all on scrapbook pages and this collection has been perfect! It works great because of all the fun, bright colors! But I have to say, it works equally well on boy layouts! Did you check out Lori's Disney Top 10 post from yesterday on the Frosted Designs Blog? It was made with the same line! How cool is that?! 


I had some messy fun with this layout! I added some Cherry Pie Dylusions ink to molding paste (to get the pink color) and then used the Hero Arts Herringbone Stencil to create the pink lines here. Once it was dry, I went back with a black pen. I also took a black pen to the green arrow background paper. I thought the doodling added a fun tweenish look! (Is tweenish a word?! lol!!) And of course, the layout would not be complete without a little sparkle so I added in a few sequins in various sizes!

If you like this line, you might want to pick it up quickly! We are almost sold out! And did I mention that it is ON SALE?!  Everyone loves a good sale, right?!

Have a great weekend!
Barb :)


Blog Template by Delicious Design Studio